
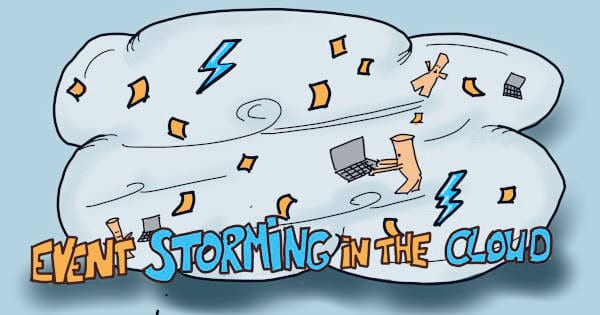
Remote Event Storming Made Easy: a Step-by-Step Success Guide
Here are step by step adaptations for a remote Event Storming. This is your checklist and walkthrough from Events Generation to Storytelling and beyond.
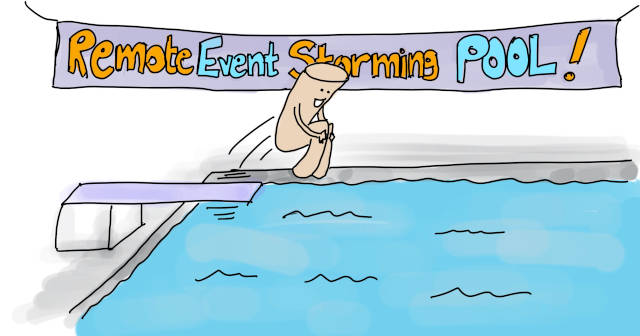
Your first remote Event Storming will feel like jumping into the swimming pool to know if you can swim! Don’t worry, though; with this guide, you will discover that you have a foothold!
Very concretely, I still don’t how to run a remote ES. I need final guidance for my first workshop!
Here is a remote Event Storming agenda, with detailed facilitation instructions. Follow the guide, and it will go well.
Detailed agenda
💡 What follows builds on previous posts that you could read for a refresher:
Welcome
There are two extra points of attention when running Event Storming remotely:
- Ask participants to turn on their webcams. Depending on the culture of your organization, you might need to insist! You can use something like that: “90% of Event Storming is about collaboration, and 60% of collaboration is non-verbal. So please turn on your webcams. Poor internet connection is a valid excuse, but it’s the only one!”
- Do a last call to ensure that everybody’s technical setup is working (check the previous post for details)
Events Generation
This phase is solo work. It works almost as if co-located. The only difference is the usage of virtual stickies instead of paper.
Sorting Events
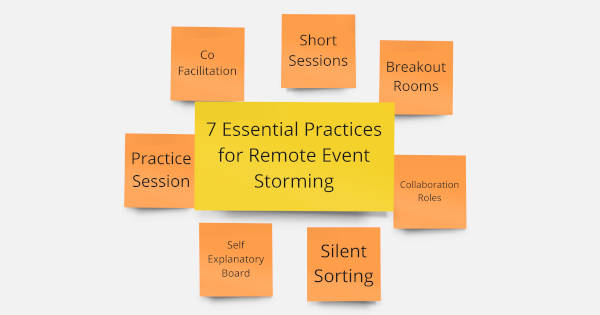
This is when the collaboration starts! It’s also when you will use the seven essential practices of remote Event Storming.
- First thing: if you haven’t done it before, it’s the last opportunity to run a collaboration practice session.
- To smooth out the sorting, you’ll need to split the participants into breakout rooms:
- Create arbitrary subgroups of 3 and ask them to sort their events using Silent Sorting.
- If you have more than 15 participants, add an extra round of intermediate breakout rooms. You’ll need to merge three subgroups of three into groups of nine manually. Then ask them to silent sort again.
- When you call everyone back together, give participants a moment to review the work of other groups silently. Continue with Silent Sorting and only then open the discussion to complete the board.
- Throughout, visit the rooms to monitor participants’ progress and provide guidance as needed. (See the Delegated Missions or the Mob Roles from the 7 Essential Practices.)
- Finally, as events find their place, make sure to keep the board tidy
Adding Actors and External Systems

This step is typically brief and straightforward. In the spirit of Silent Sorting, ask everyone to add Actors and External Systems to the design board. After a moment, ask participants to voice questions, disagreements, and counterproposals.
Storytelling
The co-located way of walking through the design board all together is a pain when remote. Here is an alternative flow using subgroups.
- Split the participants into breakout rooms according to the timeline. Create separate rooms for each board section and ask people to self-assign. It implies extra setup and facilitation: this is when a co-facilitator is helpful.
- End the breakout-room time by asking each group to come up with:
- Pink stickies for problems and questions.
- Green stickies for decisions.
- Run a Shift and Share so that each group has the opportunity to visit the rest of the design board
- Finally, copy all the problem and decision stickies into two dedicated boards and take a short moment to review them.
You can use a similar approach when doing Reverse Storytelling.
Follow up activities
From this point forward, the agenda for the event storming is more adaptive. Orient the workshop to different activities depending on what is most valuable. Some activities have their built-in workflow; in this case, stick to it. Otherwise, use breakout rooms, problem and decision stickies, and the Shift and Share flow. This is an excellent alternative to having everybody listening to a central “driver”. As the facilitator, it’s up to you to decide what topics the breakout rooms should have:
- You can use sections of the board, roughly following the timeline (for example, Storytelling)
- Pink “problem” stickies make great topics! A session of fixing pink stickies can be pretty effective.
- It can be a pure open space, where anyone pitches their topic for their room.
- It can also be a mix of the above: an open space with a few pre-defined topics.
Finally, here are two last advice to remember:
- Don’t forget to use Silent Sorting whenever subgroups have to merge their work.
- Visit the breakout rooms to make sure they are effective.

Benefits
Again, the main benefit of following this workflow is stressless facilitation! Here’s why:
- Use this post as a reference walkthrough for remote Event Storming facilitation.
- These facilitation recipes have been battle-tested.
- Bonus: this workflow makes some practices better than when co-located! Ex: reverse storytelling.
You are ready to go
This is all there is to know to run a remote Event Storming! If you haven’t yet, you can send your invitations and start the preparation.
In the following posts, we will delve into the advanced challenges of remote facilitation. How to leverage the small sessions? How to keep people engaged?
This blog post is part of the 1h Event Storming book that we are currently writing.
Leave a comment