
Step by Step Guide to run your Big Picture Event Storming
From energizing the audience to reading the story of your domain, here are all the steps that you will go through during a Big Picture Event Storming.
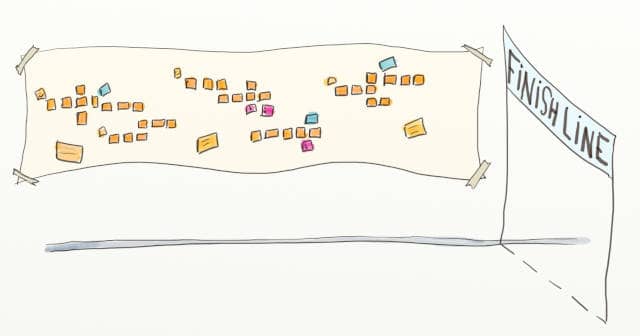
Finally, we are getting to the real thing!
We already went over the preparatory work for a Big Picture Event Storming. So now that we have everything ready, let's see how to run this a workshop in practice!
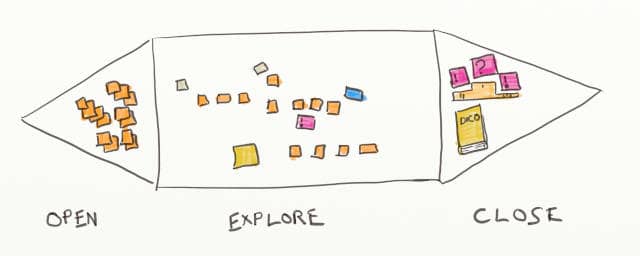
Here are the 7 steps of an Event Storming
- Preparing the Room
- Energizing the audience
- Briefing and Presenting the Agenda
- Generating Domain Events
- Sorting Domain Events
- Adding Actors and External Systems
- Storytelling
- Reverse Storytelling
- Closing
1. Preparing the room
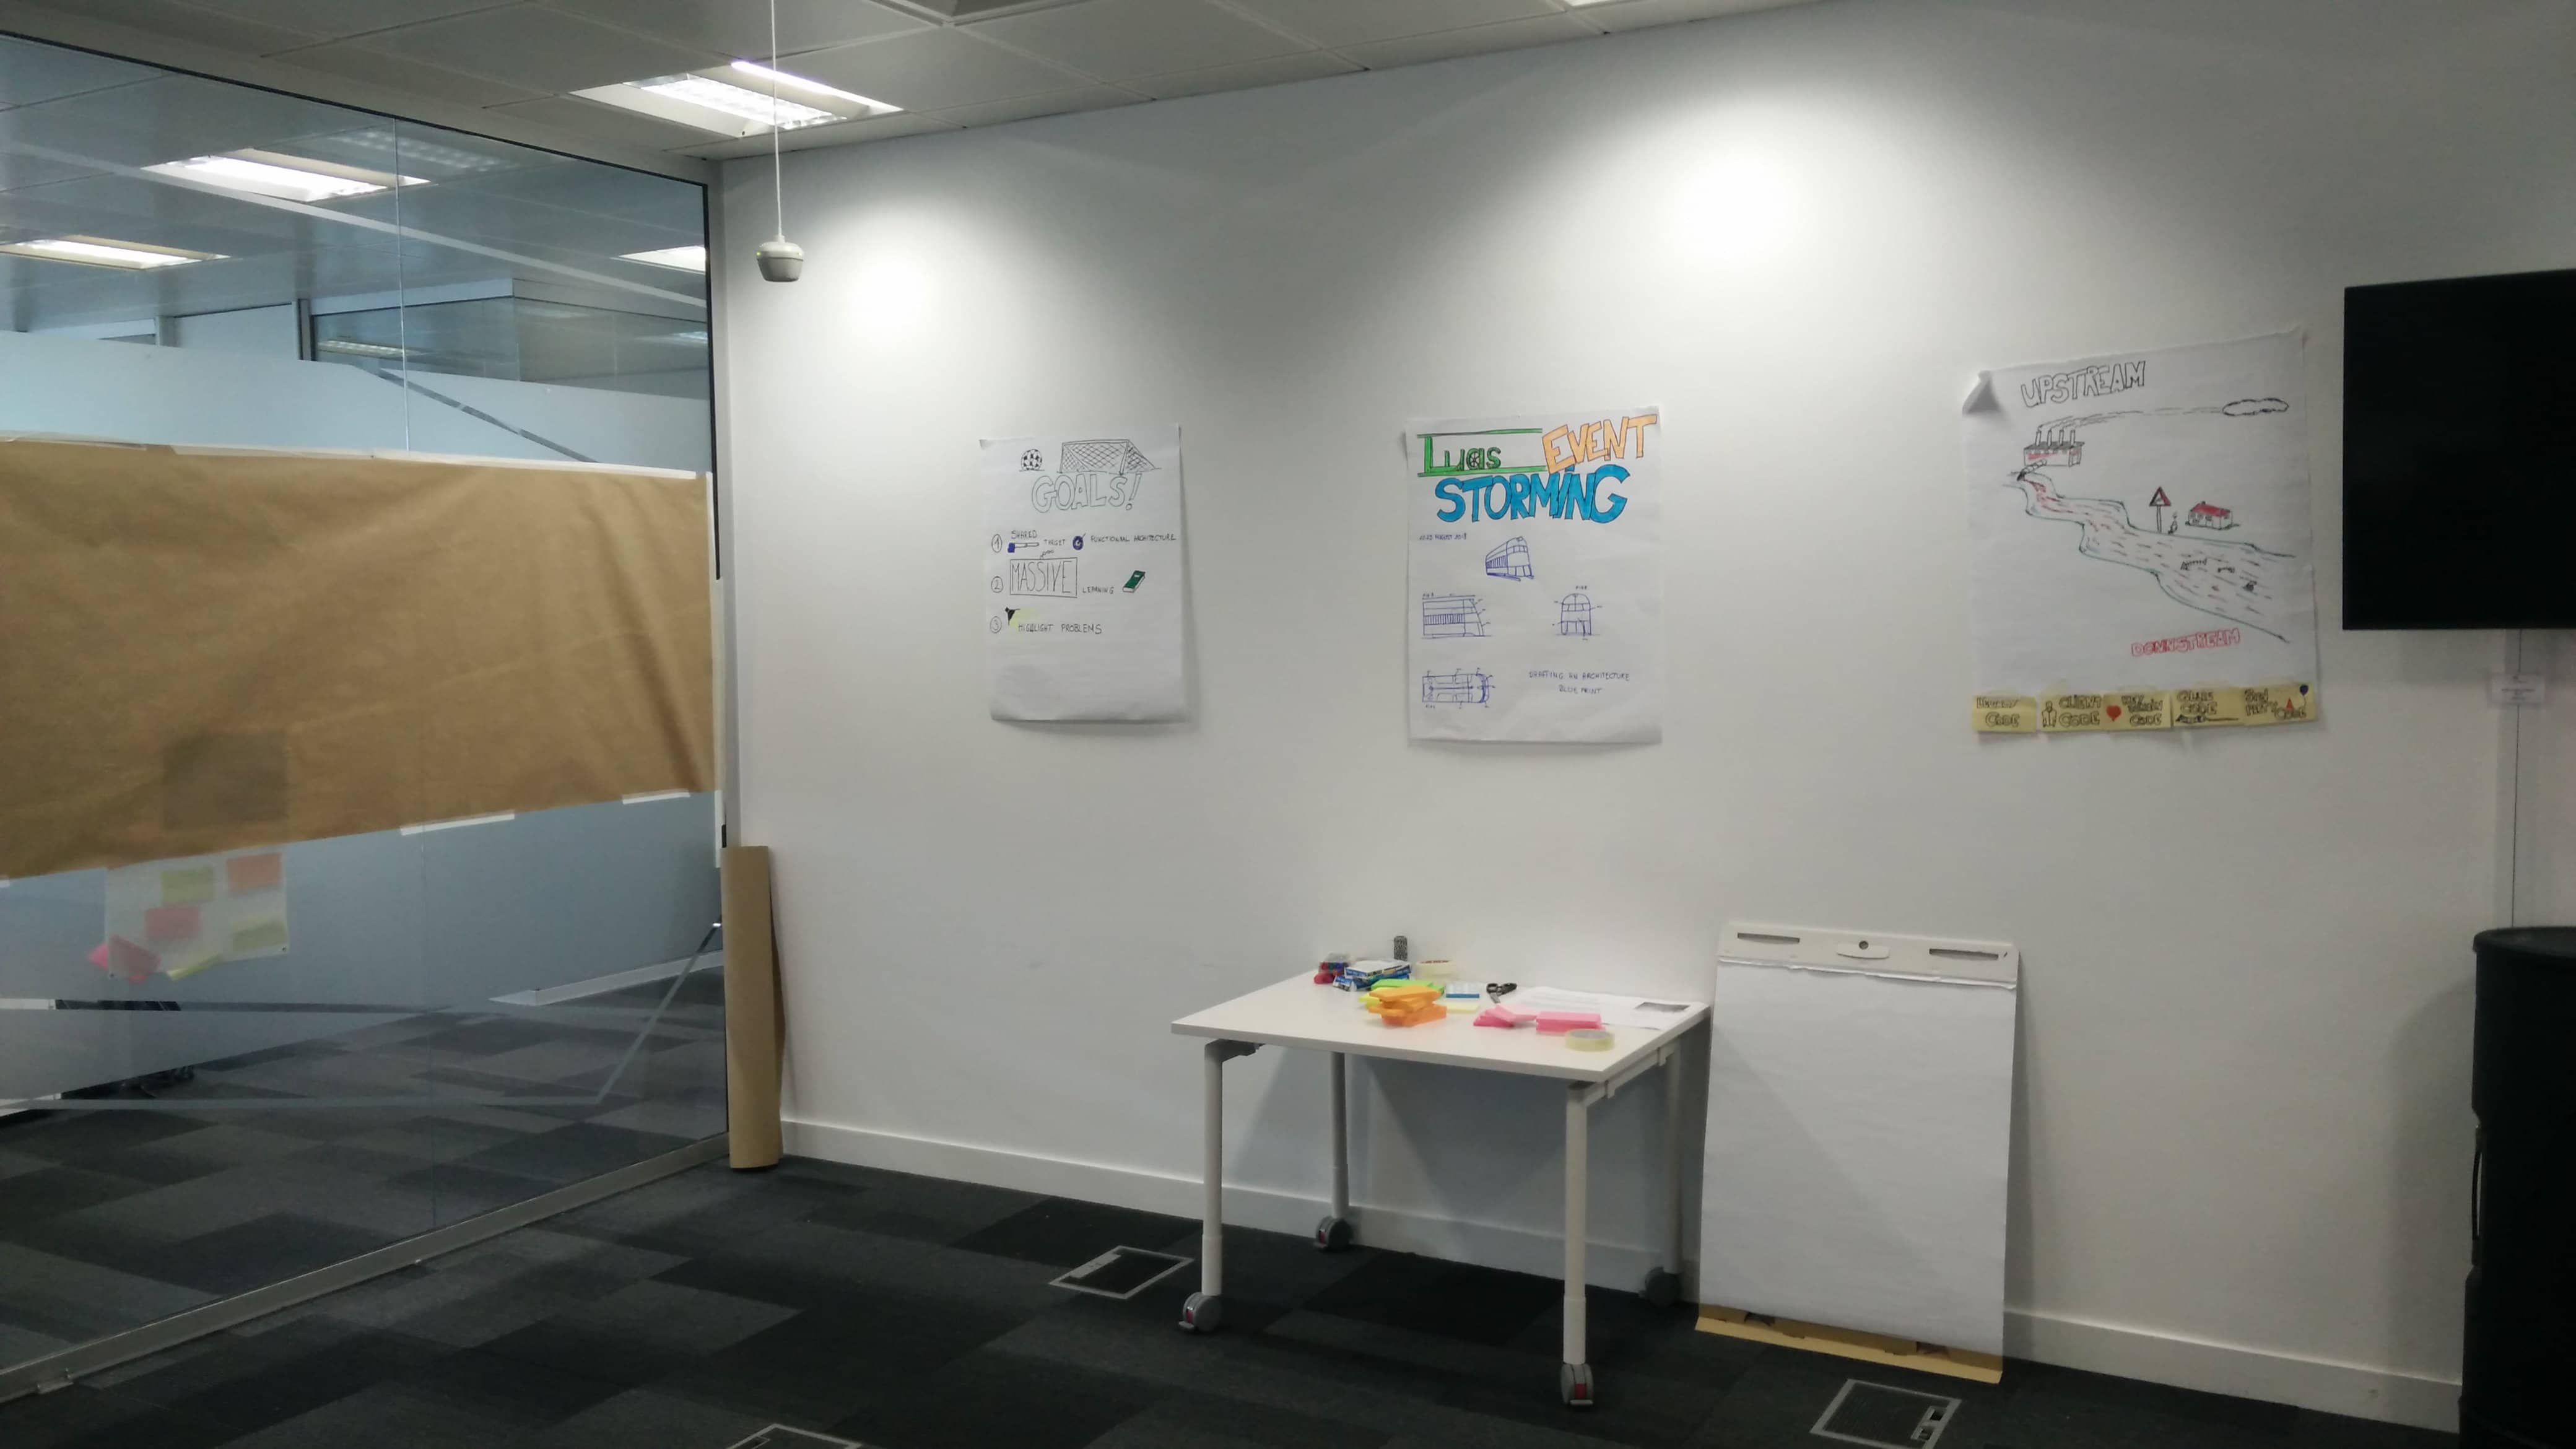
You want to have the room ready when participants arrive. Come to the room 30 minutes early to prepare it for the workshop. This previous post has all the room preparation details. Roughly, this includes:
- Removing tables and chairs
- Sticking the design paper to the wall
- Sticking the Visual Agenda to the wall
- Laying down the rest of the material somewhere
2. Energizing the audience

As we've already said, Event Storming is a different kind of architecture meeting. Our advise is to run a collective physical energizer to get people out of their habits and raise engagement. You can find many great physical energizers at funretrospectives.com. We've had success with many of them.
3. Briefing and presenting the plan
Now is the time to present the workshop to the participants. Start with the goal, scope, and use cases. It's the right moment to explain the step participants will go through and how each step will help them to reach their end goal. A visual agenda helps a lot here. It's also an excellent time to introduce some general conventions. You can find a sample briefing script in a previous post.
4. Generating Domain Events
This is when the workshop actually begins. Ask attendees to stick as many Domain Events related to the use cases as they can think of. To help them get started, be the first to place the Domain Event you prepared in the middle of the design space.
💡 Alberto Brandolini’s trick: ignite the Event Storming by sticking a prepared domain event on the design board.
At some point, you'll see that the rate of Domain Event generation will dwindle down. That's the sign that it's time to move on to the next phase. 25 minutes or so are usually enough for this first phase.
5. Sorting Domain Events
This is when Event Storming really starts. Simply ask participants to sort the events chronologically.
The goal is to represent the workflow on the design board. During the previous generation phase, people worked alone to write any event they could think of. This is going to change! They'll now need to speak to each other to sort the events.
This is where Event Storming does its magic. Likely, attendees have different points of view about the system. They materialized these with event stickies on the design board. Next, they will need to sort out their various points of view to order the events.
💡 Event Storming does its magic when people try to sort all the events.
This phase should trigger intense discussions. Take the opportunity to nudge participants into capturing domain definitions and problems to look into. For example:
- If someone wrote an event "Artifact created" ask what an artifact is. Either they'll find a better work, or they'll write a definition for what an artifact is
- As a facilitator, don't hesitate to ask the dumb question no one dares to. If an event is written "Calculation result sent" ask "What calculation? And what Result?"
The idea is to make everything that is implicit explit!
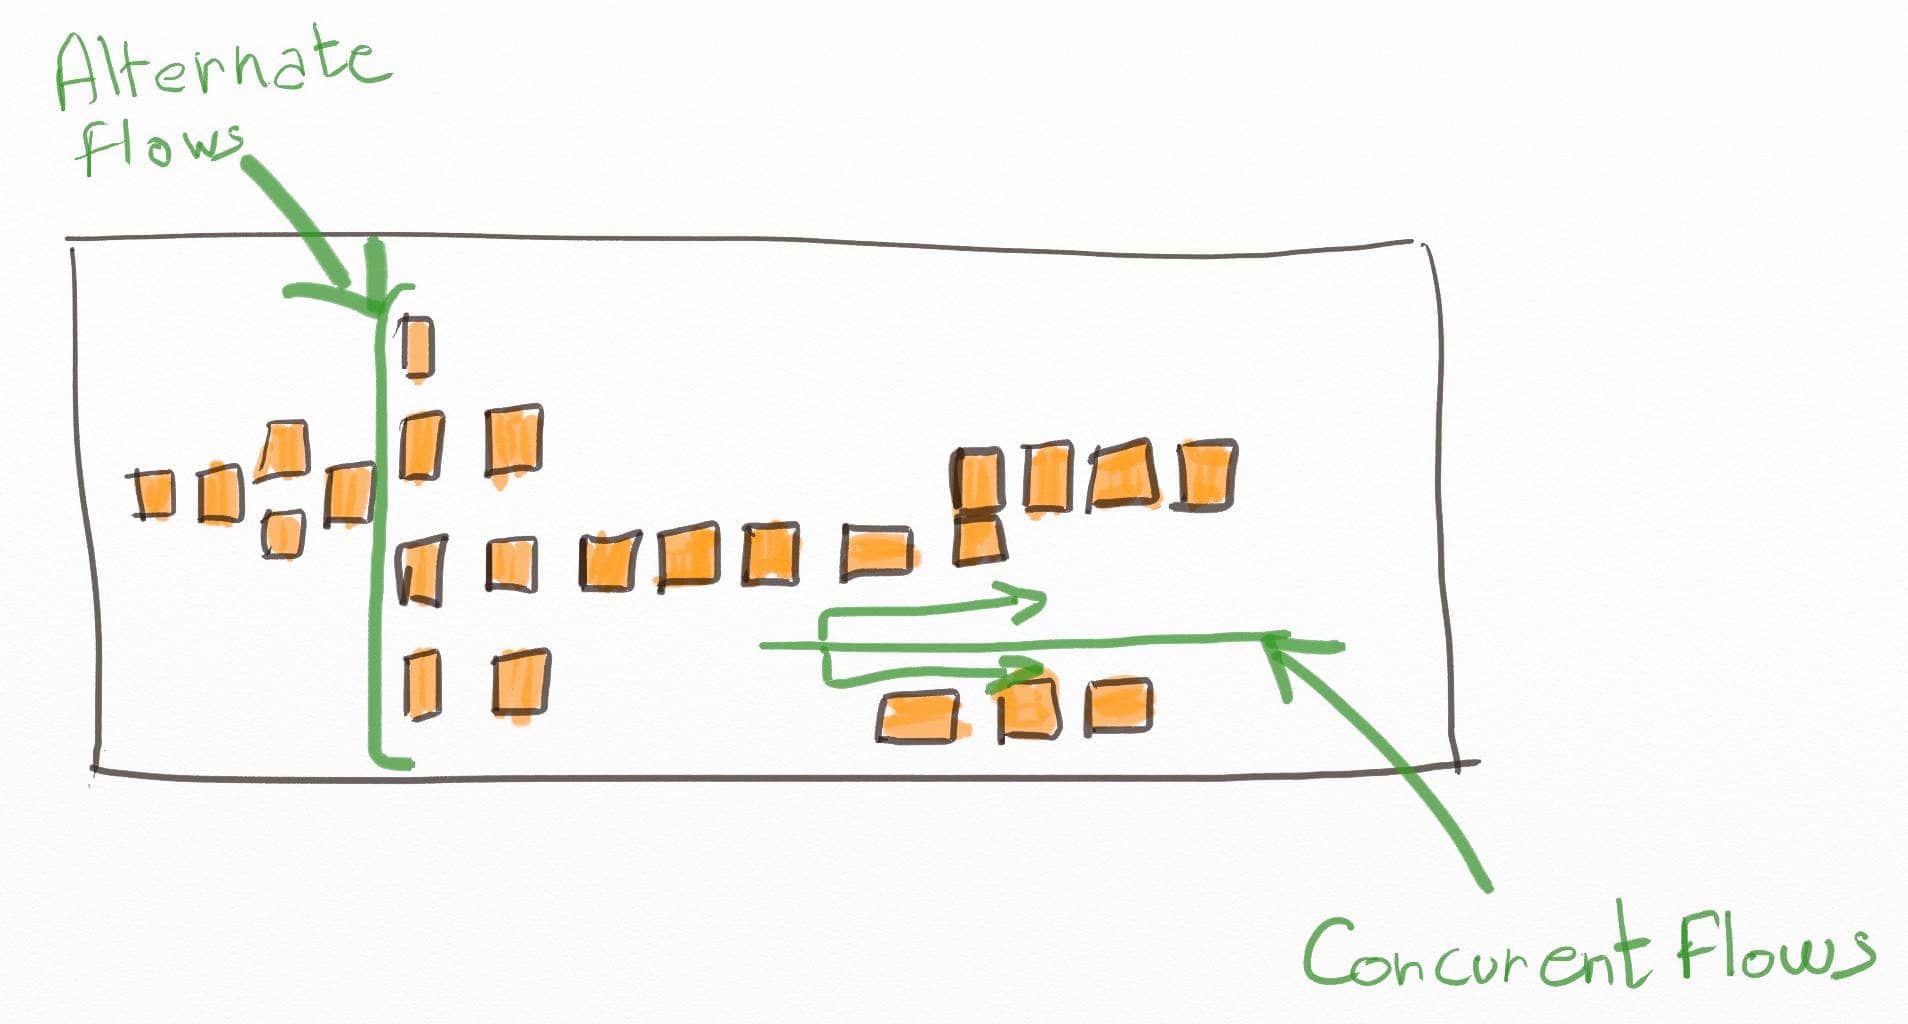
As they'll arrange the stickies in chronological, participants will identify alternate flows, or things that can happen concurrently. Invite them to use swimlanes or vertical alignment to represent these situations.
6. Adding Actors and External Systems
You should start to see the story of your system emerge. All good stories have heroes, though! This time, ask attendees to identify actors (people with a role) and external systems (ex: an online API) that trigger or respond to events.
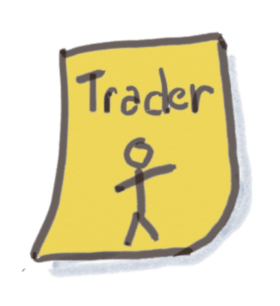
Nothing would happen if no human interacted with the system. The convention is to use small yellow stickies for actors. There is no need to add an actor to every event; sticking one at the beginning of a chain of events is enough.

Similarly, your system also interacts with external systems. The convention is to use blue stickies for external systems. Just stick them where the events interact with the external systems.
You're getting close to the end! All the attendees should now have a good grasp of the big picture of the domain. So let's test this understanding a bit.
7. Storytelling
It's time to check that the whole picture makes sense. Since the beginning of humanity, stories have been the vehicle of knowledge. Knowledge used to go from generation to generation through campfire stories. As a result, our brains are hard-wired to listen, remember and make sense of stories.

Ask for volunteers from the audience. The first volunteer is to narrate the story of the system by going through the events chronologically, explaining what is happening.
As the narrator speaks, the audience will raise questions and notice incoherencies. This is yet another opportunity to add, remove or replace events to improve the story. More definitions might emerge too. If a problem seems too big to fix during the session, park it with a pink "problem" sticky.
Narrating the story can be tiring, so ask a new narrator to take over at some point.
8. Reverse storytelling
Reverse storytelling is an optional phase that is great at drilling down deeper in the domain. Get a few more volunteers and ask them to tell the story from the end. The idea is to repeatedly ask: "What might have triggered this event?". This will generate or update events, actors, or external systems.
This question triggers the creative parts of our brains, leading the participants to imagine many new possibilities. This phase is very productive and brings many insights.
9. Closing

You've reached the first milestone of the Big Picture Event Storming! It's time to settle down and assess the outcomes:
- Participants have built shared understanding of the domain. This will save a tremendous amount of time by improving collaboration. In addition, it will avoid specification bugs and lead to better design.
- Participants have identified problems. Fixing these problems often results in quick wins with high payoffs.
- Participants wrote down the first definitions of their Ubiquitous Language. They will leverage it to speed up onboarding and maintain the system's integrity.
What's next?
So here is what you should do at this point:
- If participants have discovered a high return on investment problem to fix, that's what they should do right away. In his book, Alberto Brandolini recalls such a situation. The "Big Boss," who was in the workshop, asked everyone to stop what they were doing until they had fixed a major problem that they had just uncovered!
- But, most importantly, you should leverage the collective intelligence to continue the workshop further. For example to draft a target functional architecture, to organize teams, to decide to rewrite or refactor, etc. We'll explain how to do this in the following posts.
-
Also, participants can continue to grow the ubiquitous language by adding and refining definitions
- Whatever you decide, don't end the workshop without an agreement and someone responsible for the next steps, though.
Don't forget to ask for feedback on the session before people leave. A ROTI is a quick way to do this.
Doors open!
That's it! In a few hours, you've used Big Picture Event Storming to harness collective intelligence. The massive sharing of knowledge is the foundation step for making complex decisions in minutes instead of weeks! Stay tuned for more examples.
You now know everything to start a Big Picture Event Storming. So don't wait for more and start preparing for your first workshop!
We'll see how to continue the Big Picture Event Storming to draft a functional architecture in the next post. Stay tuned!
This blog post is part of the 1h Event Storming book that we are currently writing.
An earlier version of this post was originally published on Philippe’s blog
Leave a comment