
Follow these steps to visualize your workflow with Event Storming
When you have recurring problems with how work is performed, Use Event Storming to model your workflow. It is the first step to changing the status quo.
This post is a step-by-step guide to running your event storming the flow. Go straight to the steps if you are short on time. Read the whole post to discover:
- The typical situations where Event Storming the flow is a good fit
- Why visualization works great
- Why Event Storming the flow is an awesome technique
Typical situations for which Event Storming the flow is a good choice
In this previous post, you read the stories of 2 teams creating software and having problems doing so. These problems:
- were not about skills
- were persisting over time
- had no obvious solution
Visualization? Why?
These situations are complex as there is no obvious causality of the problem.
In complex situations, a good first step is to start with a visualization of your workflow.
This means modeling and visualizing what usually happens (events) on a timeline. When you do so:
- You focus on facts, not theories or opinions
- You start with a description of a situation to understand the problem. You don’t state the problem by the lack of one’s favorite solution. e.g. “the problem is we don’t spend enough time on [whatever]” or “the problem is we have no contact with [whoever]”
- You create the possibility to ask: “what made us get there?” and “what is working fine, that we could use as a basis for future progress”.
Thus, visualization:
- helps you find the right actions
- and decreases the likeliness of making the wrong decisions.
Why Event Storming?
Event Storming is a very good technique to visualize your workflow because:
- You do Event Storming with the people who do the work described in the workflow. And it is a collective activity.
- An Event Storming of a workflow starts with a real-life use case. It neither describes a theoretical, nor an ideal succession of steps.
Read more about the benefits of using Event Storming for visualization in this blog post
The step-by-step guide to model your workflow with Event Storming
Preparation
- Gather the 5 ingredients to prepare your event storming the flow
- Find the ideal room to run the workshop
- And prepare the room
Find a use case to describe
You can identify this use case before the workshop or at the beginning of it. To do so you can ask this question:
What is a topic you recently worked on, that you would qualify as quite representative of how the work is performed in this team / area / department?
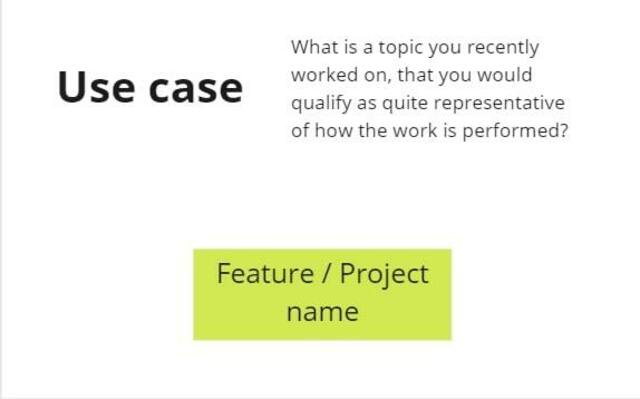
Usually, people mention examples like “the [feature name]” or “when we did [a project requiring a significant effort]”
Whatever the use case, you want the workshop participants to consider it representative. If someone proposed the use case before the workshop, ask the following question at the start of it:
Do you consider this use case representative of how the work usually happens in this team / area / department? If not, what alternative use case would you propose to explore?
Sometimes, you will have to cover several use cases. Each represents a different workflow that usually take place in parallel in real life.
In this case, model these workflows in parallel on the visual board.
Identify an event
Ask people to identify something that happened during this workflow. Give an example such as “feature inserted in the backlog” to show that an event is expressed in passive form and past tense.
You only need an event to start. Write Events on orange stickies.

Identify more events, collectively
- First individually (4’), then in pairs (4’) , then in groups of 4 (5’), ask people to identify more events on post-its.
- When discussing in small groups, they should remove duplicates, clarify wording, and start sticking the events chronologically
- Together (5’), invite people to remove duplicates again and align the consecutive events on a horizontal line. If the workflow includes optional paths or alternatives, they should be placed on another parallel horizontal line. Do all this in silence.
- Then inform the participants that this is the first draft of the visualization. Not everything is clear yet. Some words may be confusing. But the goal is to draw the whole picture before going into details. So, ask people:
- “What is missing to complete the picture? Are there some gaps in this workflow representation?”
- “Are there events that occur before or after that have a significant impact on this workflow or that this workflow impacts?”
If the answer is yes, do another iteration starting from 1
At this stage, you will have to ask that someone tidy things up a bit: realign stickies, remove stickies that placed randomly… It should take 2 to 3 min at most. It is better to ask someone than to do it yourself. Do not neglect any opportunity to make the group responsible for their work.
By the way, if you wish the group to feel in charge, follow the advice and technique described in this post: Engage the participants during your next Event Storming thanks to the Delegated Missions
Identify hotspots and actors collectively
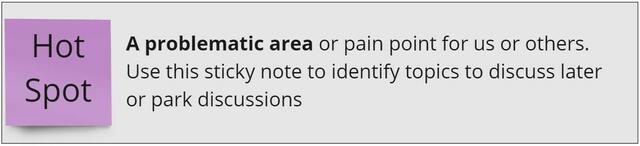
What are hotspots?
Hotspots are spots of the workflow that are hot 😉. Write hotspots on red stickies. People will identify with these stickies:
- Things that are not clear (e.g. the meaning of a word)
- Questions (e.g. “How was this decision taken? By whom?” “How long did this step take?”)
- A problematic area or pain point (“This puts more pressure on the teams”) They may also write down
- Suggestions (e.g. “what if we had done this with our product owner involved?”) The goal of sticking a hotspot is to flag that something needs discussion or to park discussions for later.
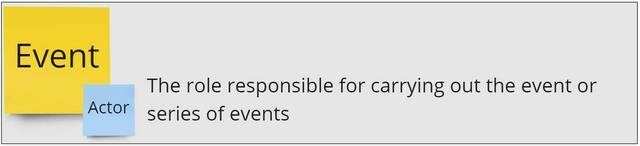
What are actors, and external systems?
Actors are the people who contribute most to the occurrence of an event or a chain of events. Use small blue stickies to identify actors and stick them on the 1st event.
You can use the same stickies to identify interactions with external systems, sources of information, or people.
How to identify hotspots and actors?
- Split your attendance into 2 groups.
- One half identifies actors while the other identifies hotspots
- 5’: ask people to identify hotspots or actors individually and in silence without sticking them yet
- 5’: in small groups of 3 or 4, people share their list, remove duplicates, refine, and stick their actors or hotspots.
- Switch the groups. The group who was on hotspots goes to actors and vice-versa
- 2’: ask people to individually look at what was previously displayed
- 3’: back in small groups of 3 or 4, people remove duplicates they see and enrich the initial list with their contribution if they want to add any hotspot or actor
Final check
You should now have a representation of the workflow that looks something like this:

But before going further:
- Re-confirm the use case is representative of the usual workflow by asking the question:
Now that you represented the use case, would you still say that it is representative of how the work is performed in this team / area / department? Or would you suggest another more representative use case?
- Check the picture encompasses enough of the system by asking:
In the next steps we are going to identify improvements and challenge how the “system” works. How representative of the whole system is this visual? Would you advise adding more steps to the left or to the right to enable us to be bold in the next steps?
These 2 checks can open the door to going back to more visualization activity.
Conclusion and next
Once you visualize the workflow you are one step further toward alignment on the problem.
What you already achieved with the group is:
- a shared understanding of how work is performed. This resolves lots of opinion-based debates.
- an identification of what is not explicit enough (hotspots). You also opened the possibility of broadening the boundaries of your actions. You can enable the diagnosis, based on something tangible.
We will explain how in the next posts. Stay tuned!
In case you are wondering, you can do all the above remotely. We will come back to this in a future post too.
This blog post is part of the 1h Event Storming book that we are currently writing.
Leave a comment